How to make a AiO from a laptop
In this tutorial i'm going to make from a laptop a all in one. But first the background story: I bought a old Fujitsu Amilo Pa 1510 laptop from my mom for 15$, I liked it very much and i installed a lot of old software on it. But it had one issue... The screen was broken. An a replacemend screen for a decent price was as rare as an apple 1. So i used an old screen (With has the same brand and color!) but setting it up was a lot work, and the size was not perfect either. One day i just screw it open and removed the screen, and when i started up the computer, the screen was fitting and that was perfect! And i didn't follow any tutorial. I just screw that laptop open and just removed the wires that were from the screen. I had no issues whats however, but the fan tape had to be removed and wont stick anymore, so that is a bit noisy.
*DISCLAIMER: Seriously, do this at your own risk. And please, be
careful and backup ALL your important data. I'm not responsible
for anything that happens with your laptop if your following this
tutorial. YOU HAVE BEEN WARNED.
*Note that the pictures where AFTER i removed the screen and where taken when i wanted to make this tutorial
1. Open the laptop
This is one of the most easiest steps in the tutorial. Just open up the laptop, and i would highly recommend to remove the battery. If you don't know how to open your laptop, On iFixit you got a lot of great tutorials how to dismantle your laptop
2. Remove the cpu/gpu cooler
From this laptop, the cpu/gpu cooler are the same and it was easy to remove.

Click to enlarge
I had only 4 screws to remove! Note maybe some coolpaste will come loose.

Click to enlarge
It was hard to remove the tape what the copper and the fan together because it was (very) sticky.
3. Remove the fan
The fan was a bit trickier because one screw was hidden, so it took me 30+ min to find out where it was.

Click to enlarge
Don't forget to remove the cable. If all screws/cables are removed, remove the fan.
4. Remove the lcd cables.
In this part, likely you need to use sissors, because it was impossble in this laptop to remove that cables with out just cut tru them.

Click to enlarge
This is when the (already) cutted cables are connected. They where (see picture under this text) connected to the lcd, but the hole was too small too fit the cables tru. So i had to cut them. I would reccomend to remove them.

Click to enlarge
This are the cables that came from the lcd. The cutted two where hard to remove, but the third was easy to remove.

Click to enlarge
I cant realy remember what one it was, i had one cable and that was from the lcd. I dont think it was important :)
5. Remove the lcd
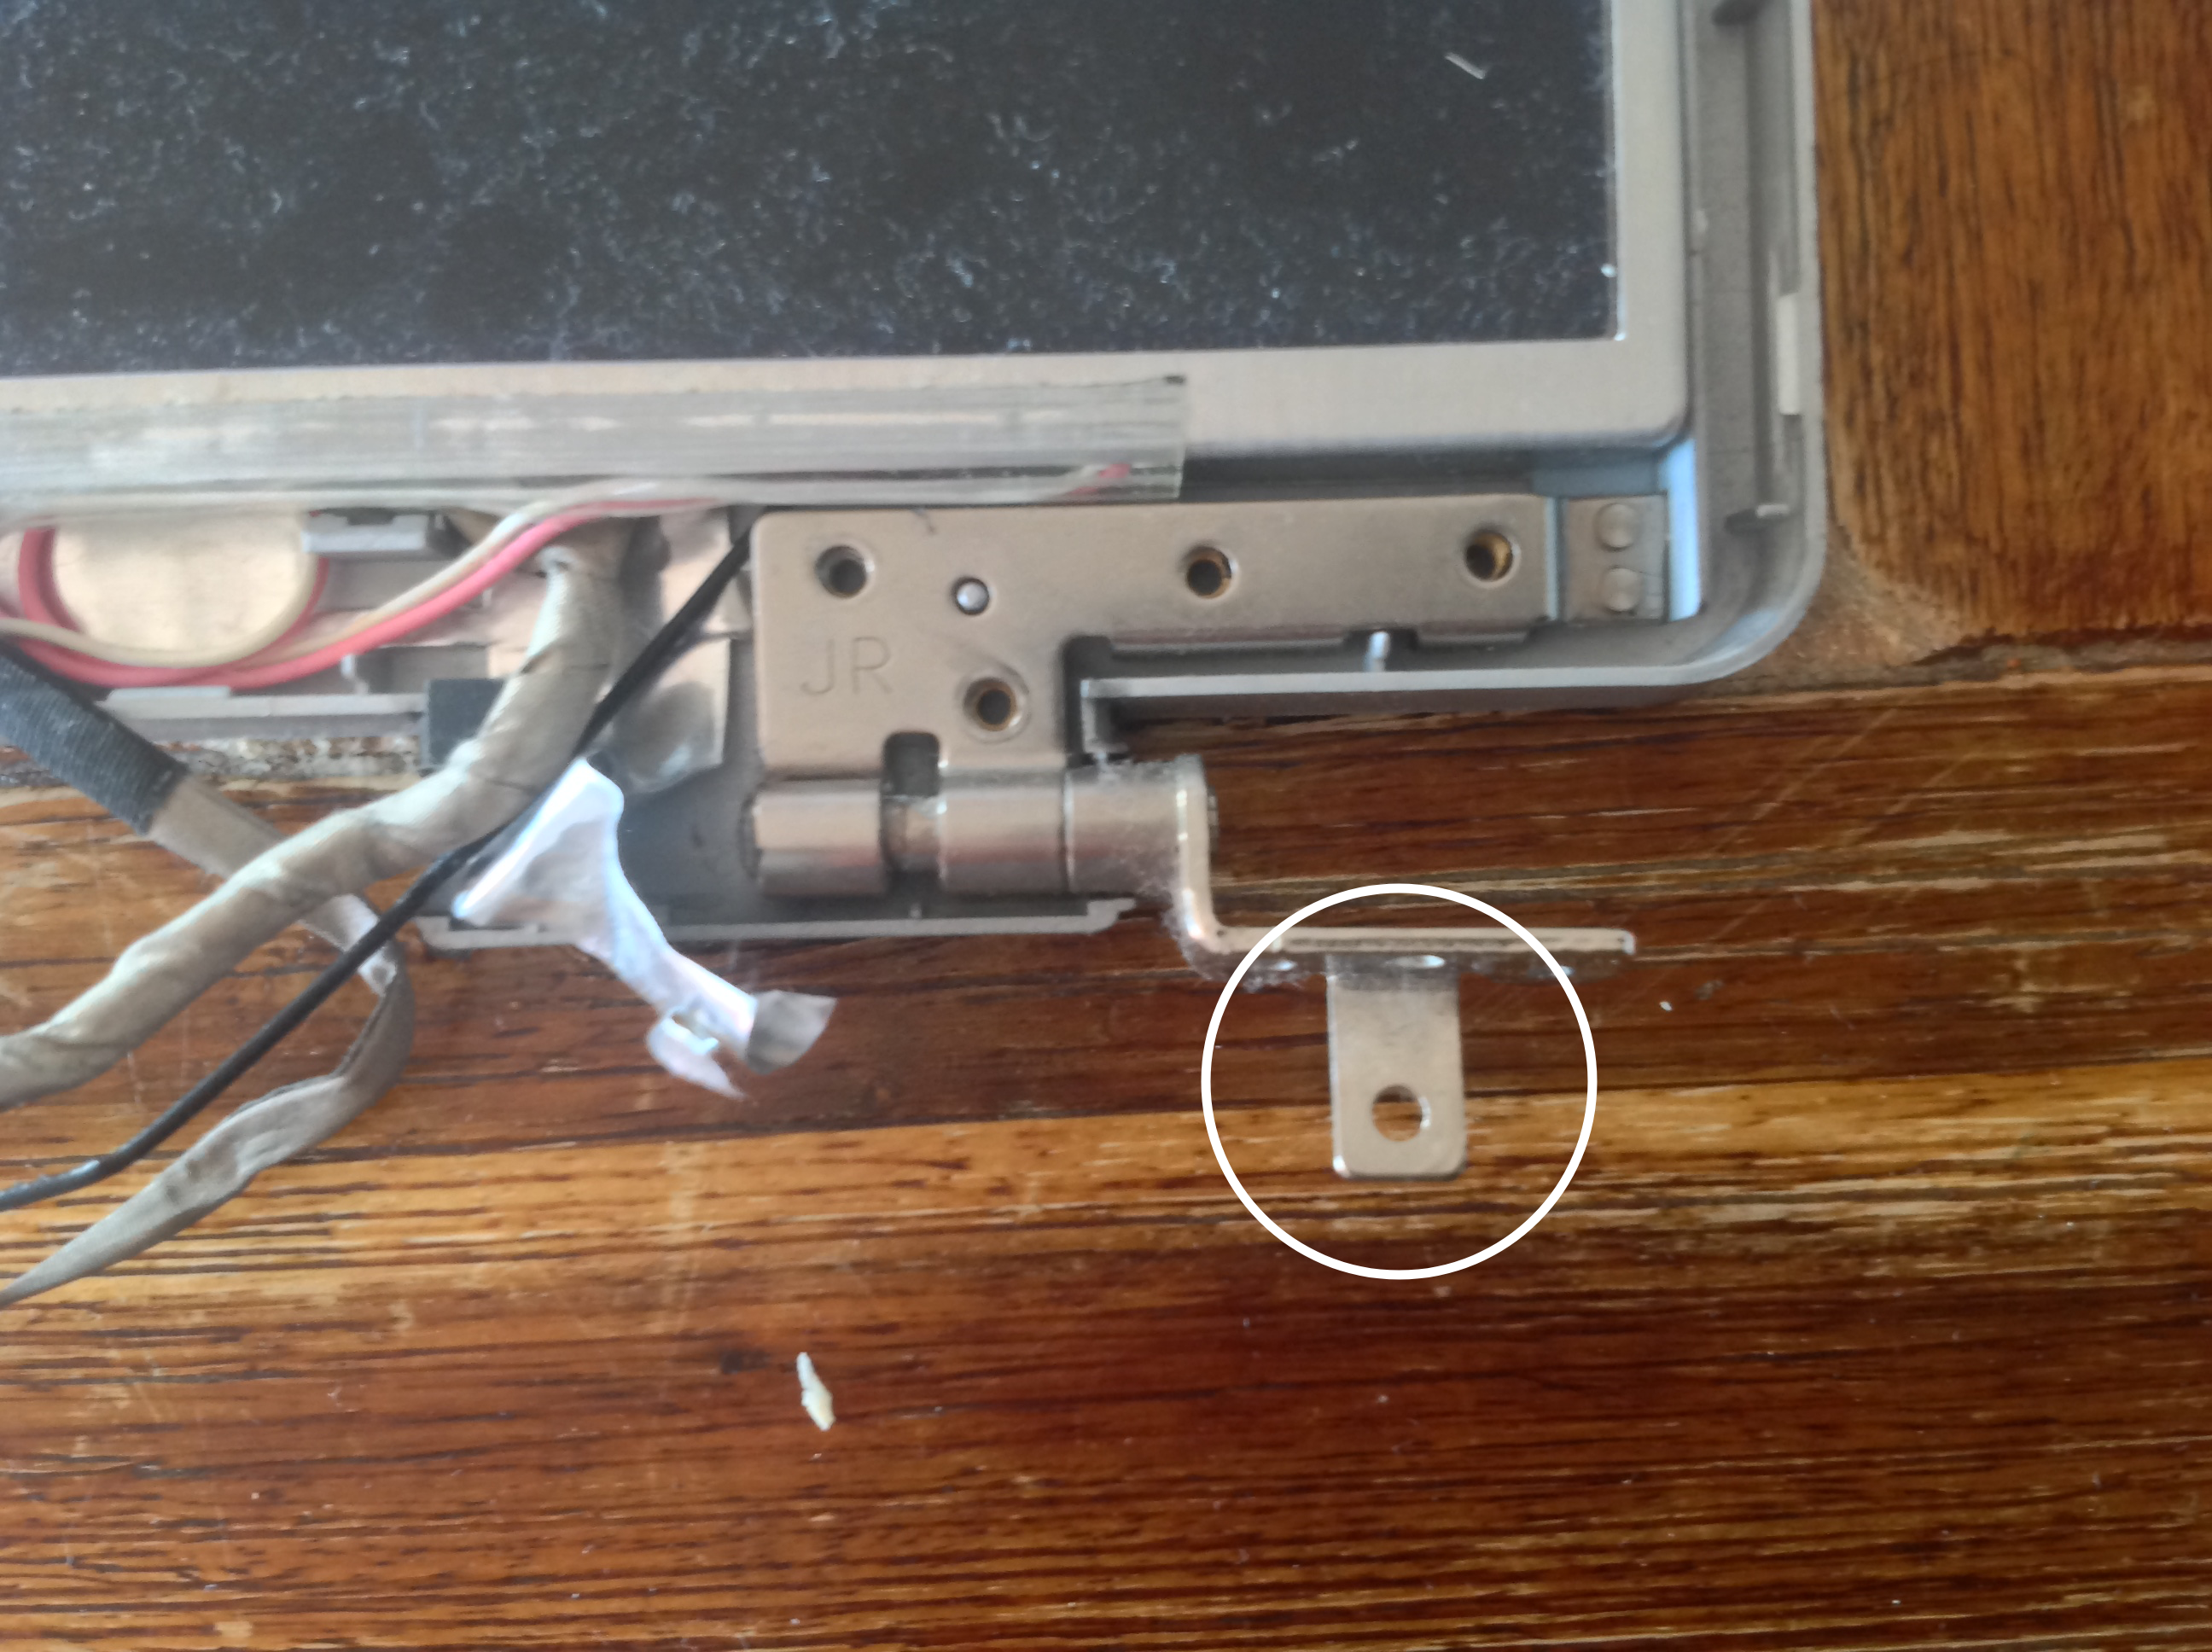
Click to enlarge
This screw was quite hard to remove
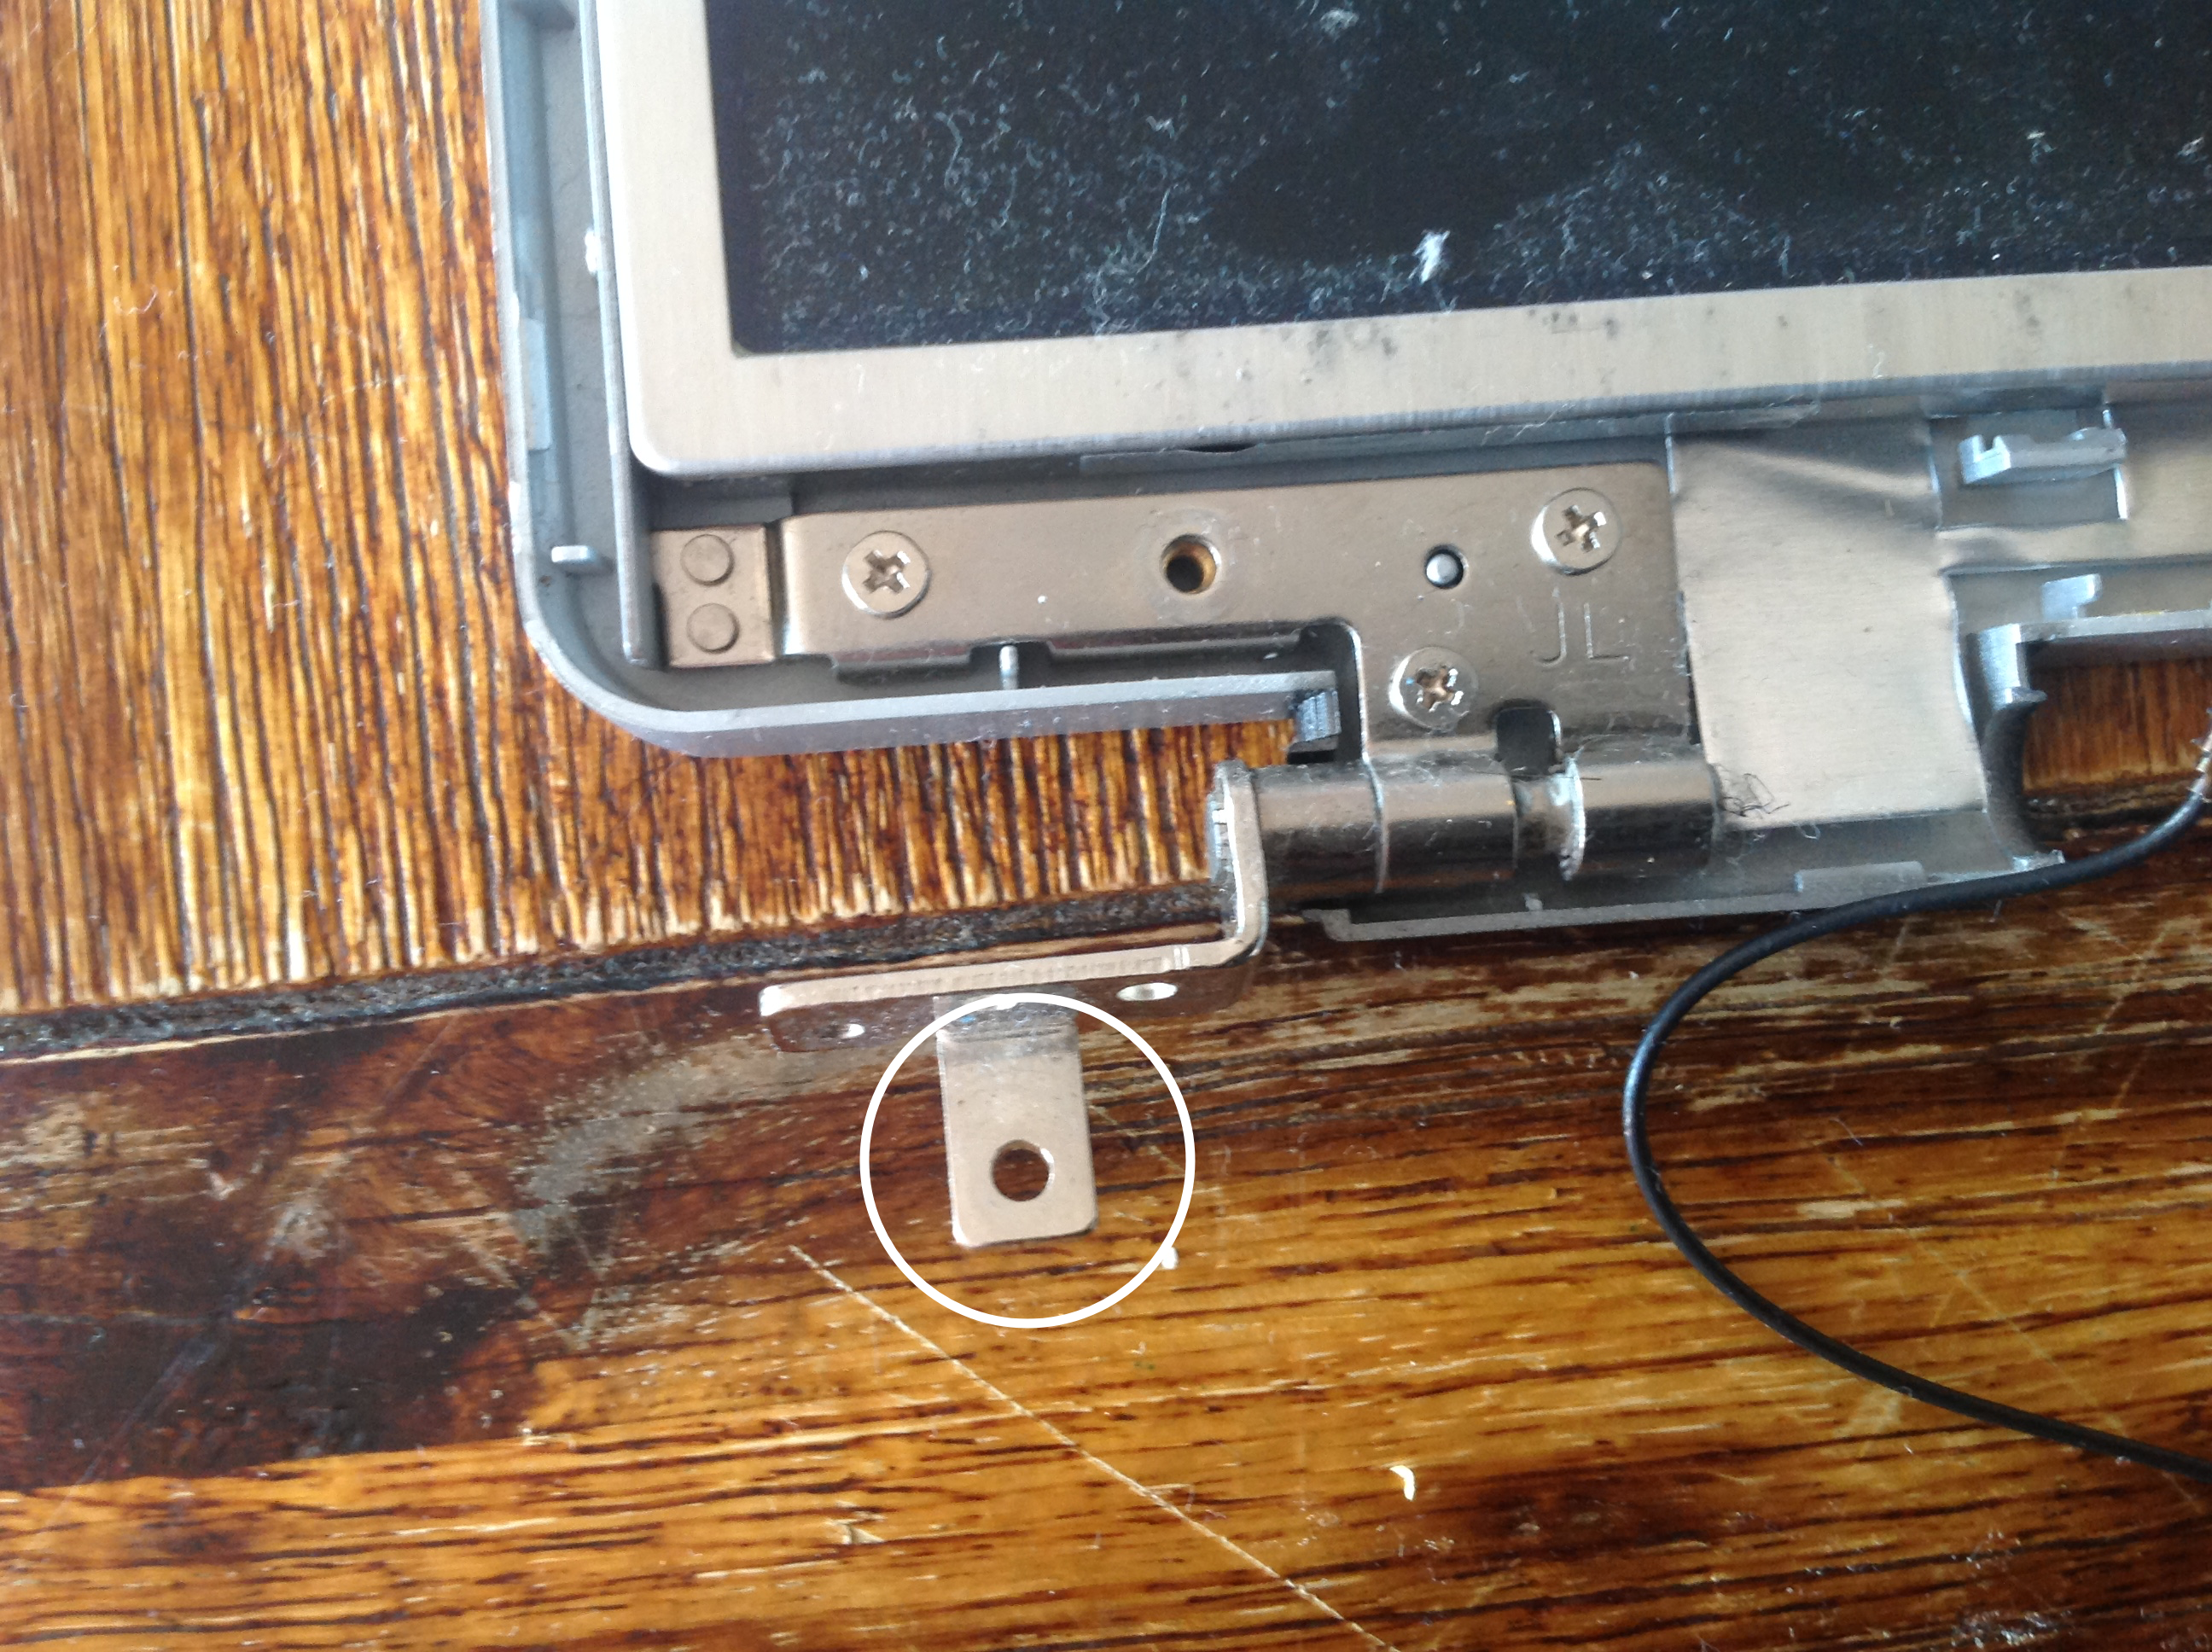
Click to enlarge
Unfortunately, this one too :(
6. Booting/testing the computer
Youre almost done! First, screw the fan back in, AND DONT FORGET THE CABLE. and then, screw the cooler for the cpu/gpu in, and put that tape back. And if its not sticky anymore, just use some simple tape. NOTE: If you put it over the fan, it will make a lot of noice.

Click to enlarge
This is how it should look like, the end result.

Click to enlarge
And my AiO boot perfectly! Thanks for reading!